In this article i will tell you about how to download, install and configure bluestacks on windows(XP/7/8) or mac. But first i tell something about bluestacks. Bluestacks is the android emulator which allows you to run android apps and games to your computer having windows operating system or mac. And the most interesting thing about this app is that it is free. So now you can enjoy your favourite android games and apps on your computer. So here is a guide to install and configure bluestacks so you can enjoy android features on your PC.
How to download, install and configure bluestacks
Here is step by step instrutions to download, install and configuring bluestacks on windows(XP/7/8) or mac.
Downloading and installing bluestacks
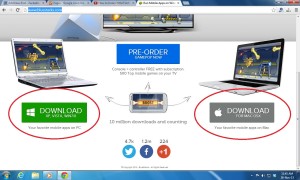
1) Download bluestack. First you have to download bluestack. If you are running windows operating system then download windows version and if you are using mac then download mac version.
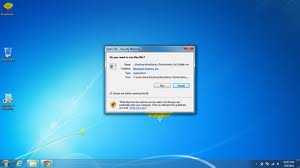
2) Run executable file. After downloading run the executable file for installing bluestacks.
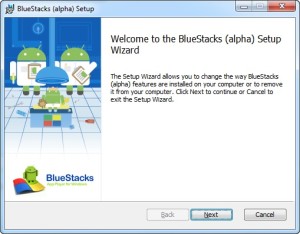
3) Continue installation. After running .exe file a new window will open. Click next to continue installation.
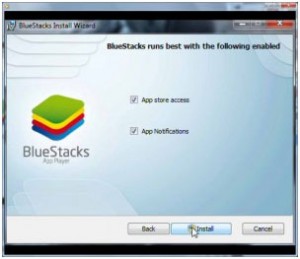
4) Select options you want to install. After that it will show you some options, select those which you needed to be installed and continue installation.
5) Completing bluestacks installation. Now it will take few minutes to install bluestacks. And then bluestacks is ready to run android apps and and games to your computer.
Configuring bluestacks
1) Run bluestack. Now its time to run bluestacks first time which you just installed.
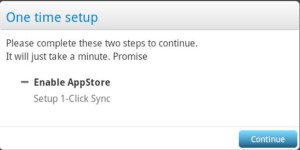
2) Enable app store. When you run bluestacks for the very first time it will ask you whether to enable app store or not. Any way you have to enable it.
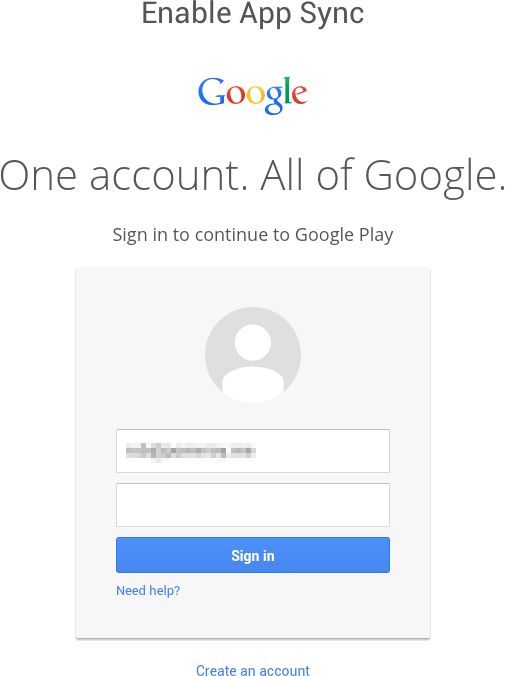
3) Provide Google account details. After that bluestacks ask you to provide Google account details. Provide your Google account details or create a Google account if you don’t have one. It is really important to attach your Google account with bluestacks because it will help you to download apps from Google play.
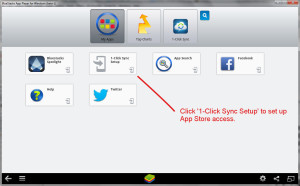
4) Synchronize Google account with app store. After that click on 1 click sync setup which is under My Apps tab and follow the instructions it give you to synchronize your Google account with app store.
Now bluestacks is installed and configured on your computer properly. And now you are ready to install your favourite android apps and games to your PC.
I hope you now have learned how to download, install and configure bluestacks on windows(XP/7/8) or mac. So if you have learned don’t forget to like this article.
